Published on Oct 16, 2015
Learn how to correctly press the barbell when Bench Pressing. Before you worry about what program you should be doing or what assistance work you need, learning how to correctly execute the Bench Press should be your #1 priority.
Intro
Hey everyone, today I want to offer you some help with your bench press technique. I’ve noticed that a lot of people are frustrated with their lack of progress in the bench press. They’ve tried everything; high volume with lighter weights, low volume with heavier weights, plenty of assistance variation, this program, that program, and none of it helps. What could be wrong?
My guess is your execution needs some work and your bar path sucks.
Fix your bar path for a stronger bench press
Fixing your bar path with not automatically get you into the 315 club but it’s a start. Proper programming and accessory work is very important but having the correct bar path should come first. To me it’s like a baseball player not swinging a bat correctly and assuming that swinging harder and swinging more often will make him better. You need to take a step back and work on the fundamentals.
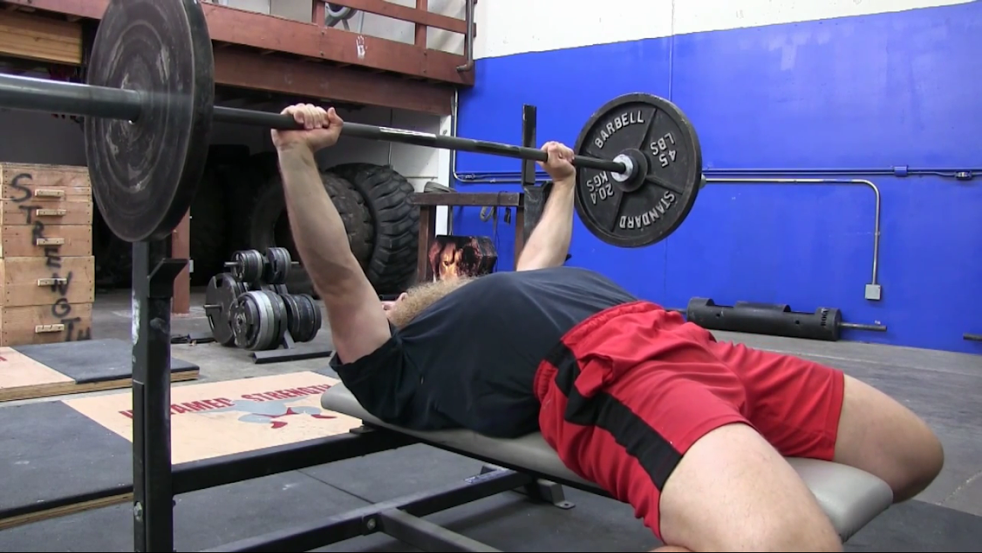
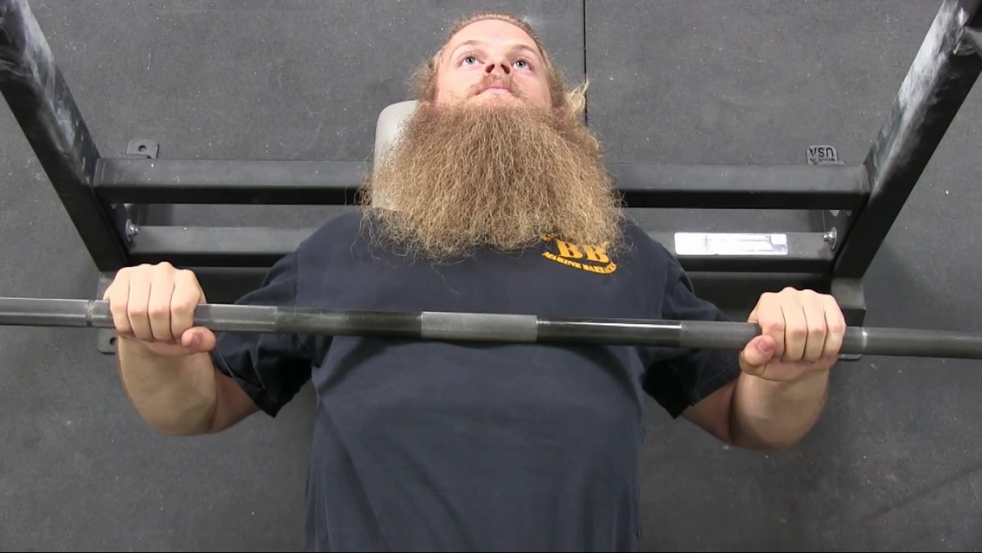
Bench press set-up
When bench pressing there are 2 points that must remain constant.
- Your starting point.
- Where the barbell touches on your body.

These 2 points must be clearly identified. The barbell should start, touch, and end at the same exact spot every single rep of every single set!
Let’s take a minute to find out exactly where both of these points are.
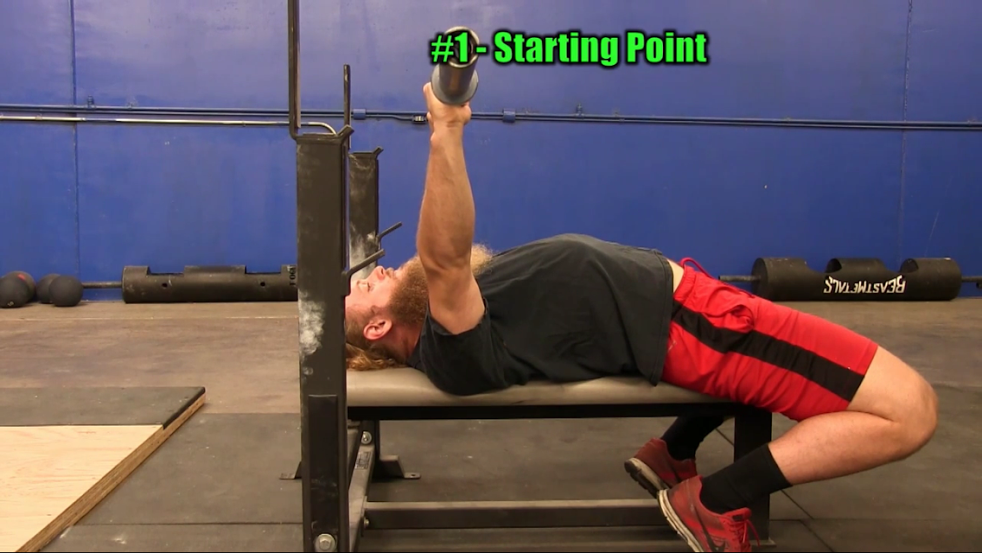
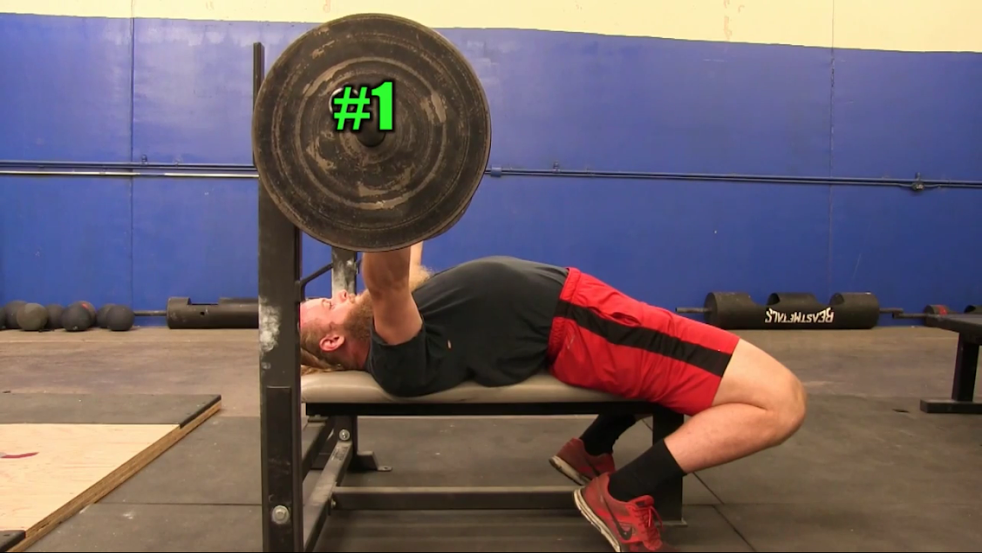
Point #1 – Starting Point
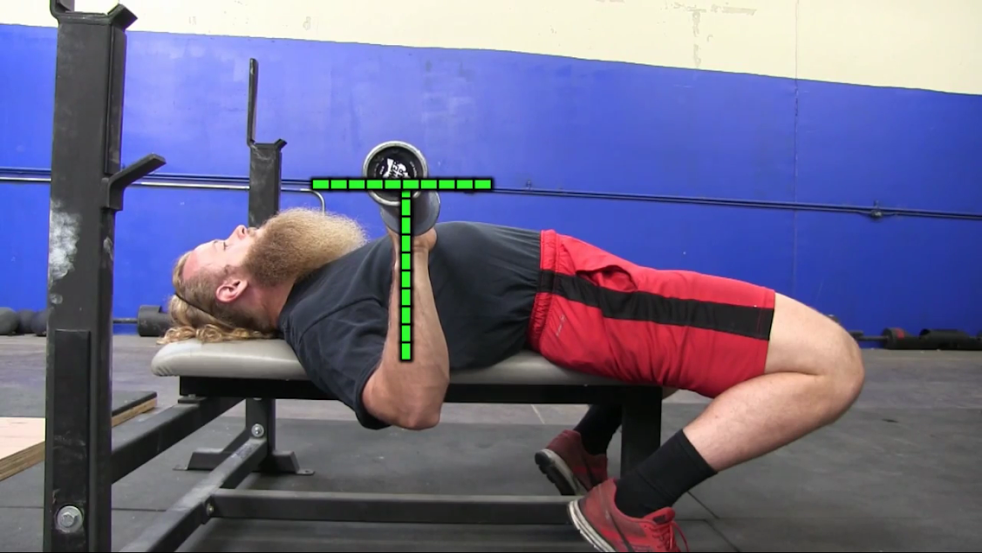
During the bench press, the starting point of the barbell is directly over the upper back (or shoulder joint). 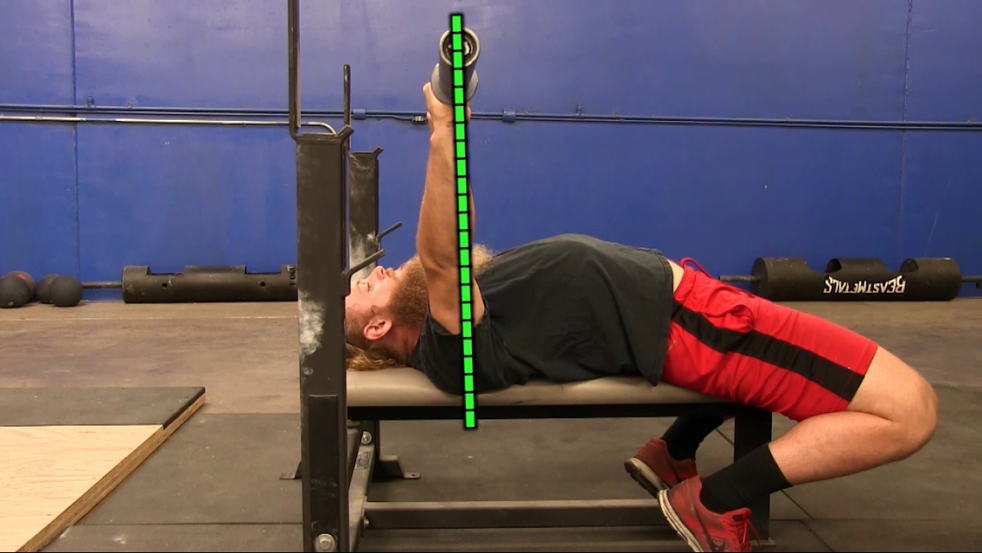 Think of your upper back as the platform you are pressing from. Your upper back is your base. Your upper back is your support.
 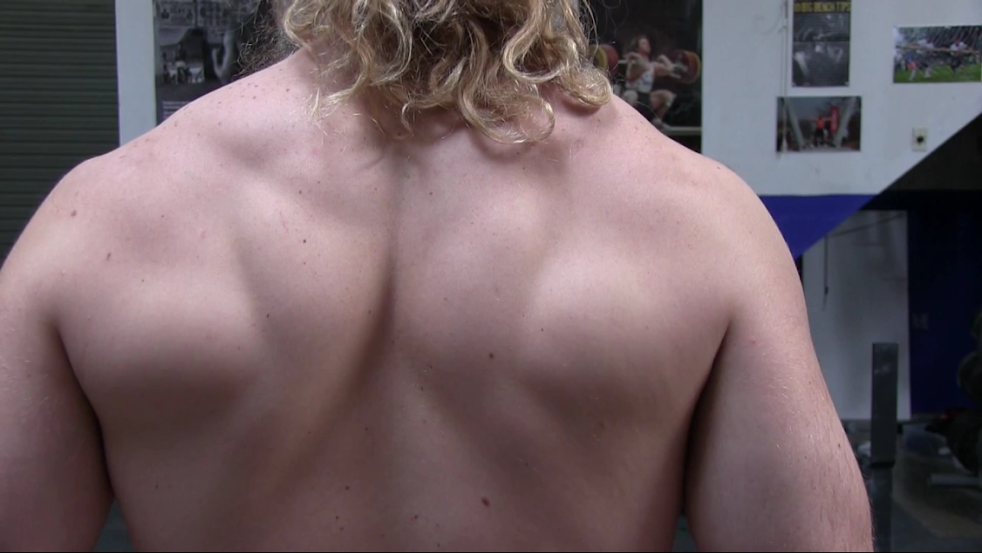 Say it with me “This is my upper back, there are many like it but this one is mine. My upper back is my best friend. It is my life. I must master it as I must master my life!”
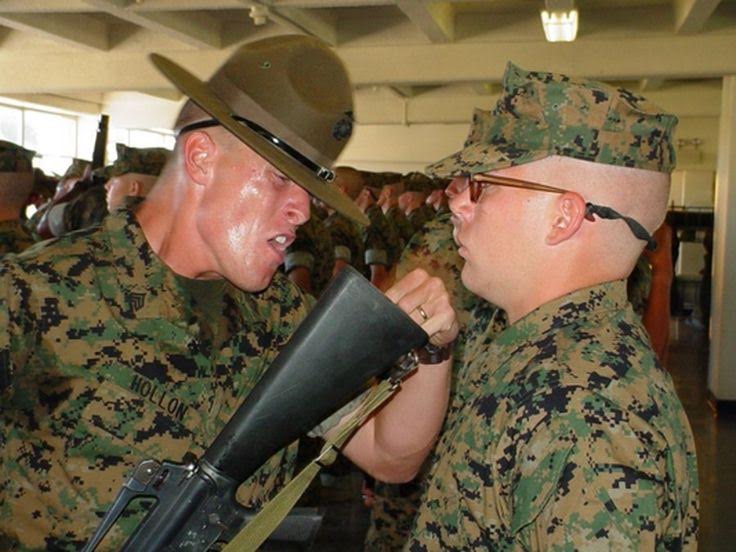
To prove my point, try this drill:
- Get into a good bench press position.
- With some weight on the barbell, remove it from the rack.
- Hold it there….Imagine you had to hold that weight in this position for 10 minutes. Chances are you are going to hold the weight directly over your upper back because that’s your base of support (and that’s also directly above your shoulder joint).
- With straight arms start to let the bar drift towards your belly button. You’ll notice that it becomes very difficult to hold in a static position.
- Bring it back over your upper back.
- Now, with straight arms let the barbell drift back towards the rack without hitting the uprights. Similar struggle, right?
- Finally, bring it back to the original position over your upper back. Memorize this spot, engrain this spot into your mind, and do not forget it. This is the spot you are going to START and FINISH every single rep.

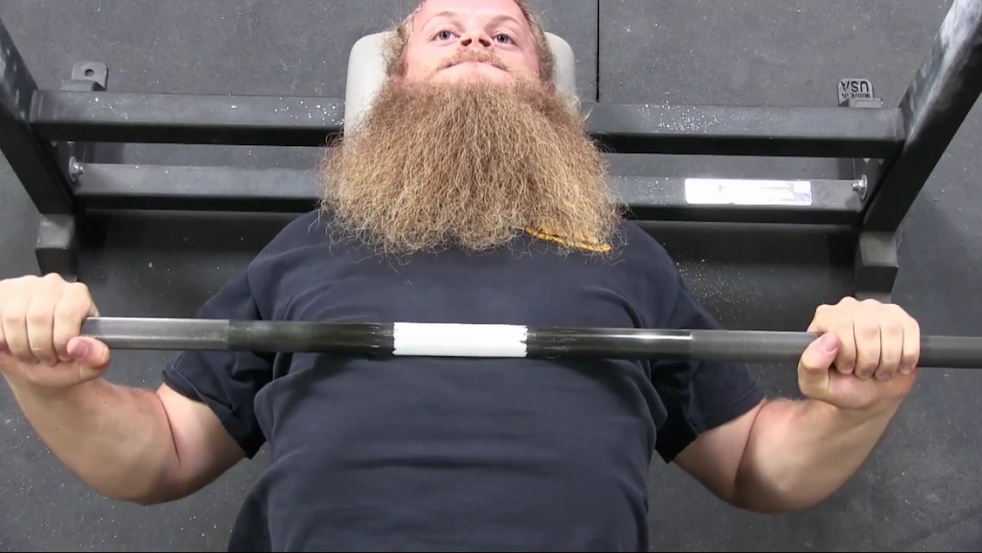
Point #2 – Where the barbell touches your body
Unlike point 1, the exact spot of point 2 is going to vary based on a couple of factors like hand width and arm length, and the height of your torso. As a general guideline, your hands should be in a position that places your radius and ulna, or forearms, perpendicular to the barbell when it is resting on your chest. For those of you who failed geometry, perpendicular means two lines come together at a right angle, they form a T. 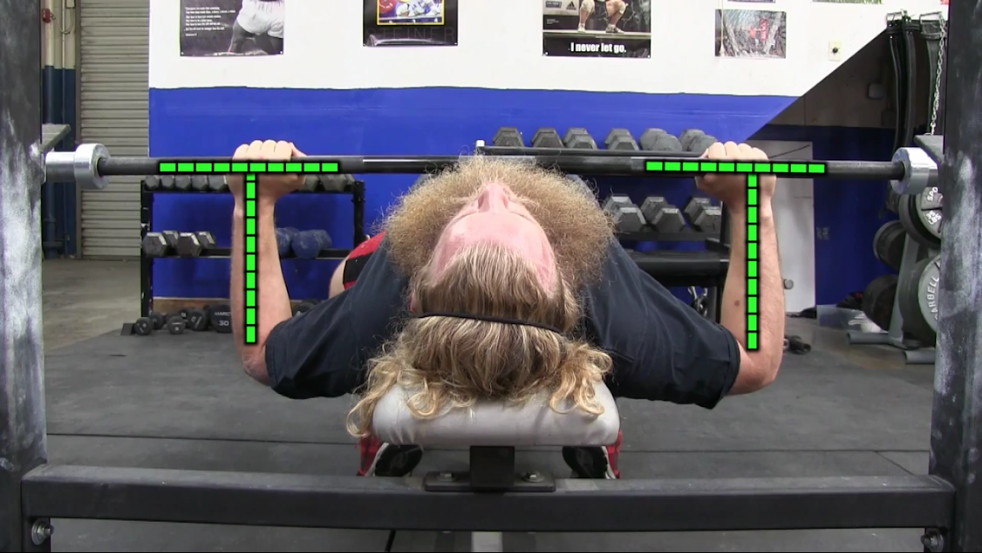
 In this position, your entire shoulder girdle is sharing the load.
Using a wider grip shortens the range of motion and puts more stress on the pecs and less on the triceps. 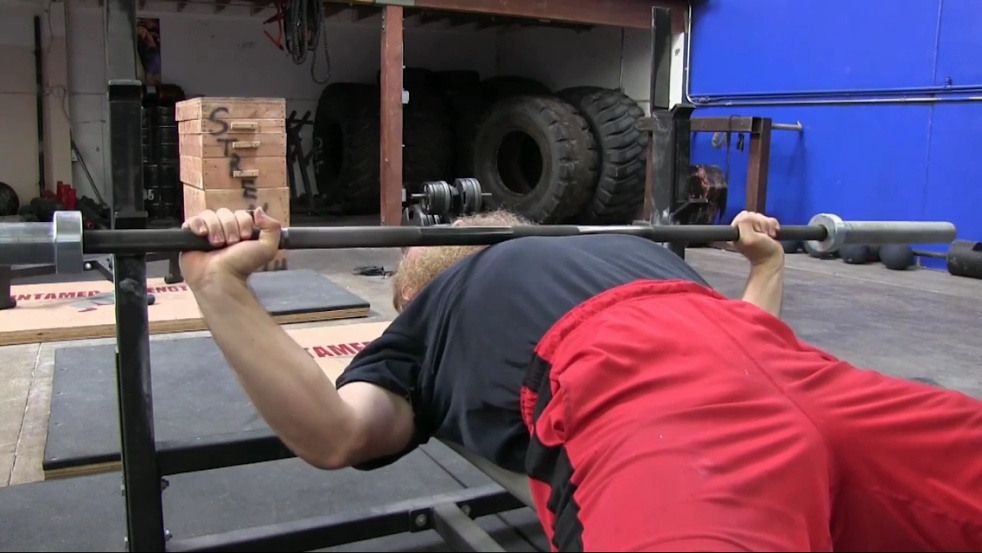 Using a narrow grip will place more stress on the triceps and less on the pecs.
  The purpose of the bench press is to strengthen the pecs, shoulders, AND triceps so it makes sense to utilize all of them during the movement by using a neutral grip. Some people prefer a wide grip, some people prefer a narrow grip, but as a general guideline for someone learning how to bench press, a neutral grip is suggested.
Getting to point 2 So now that we understand where the barbell should start and where your hands should be let’s figure out where the barbell should touch your body.
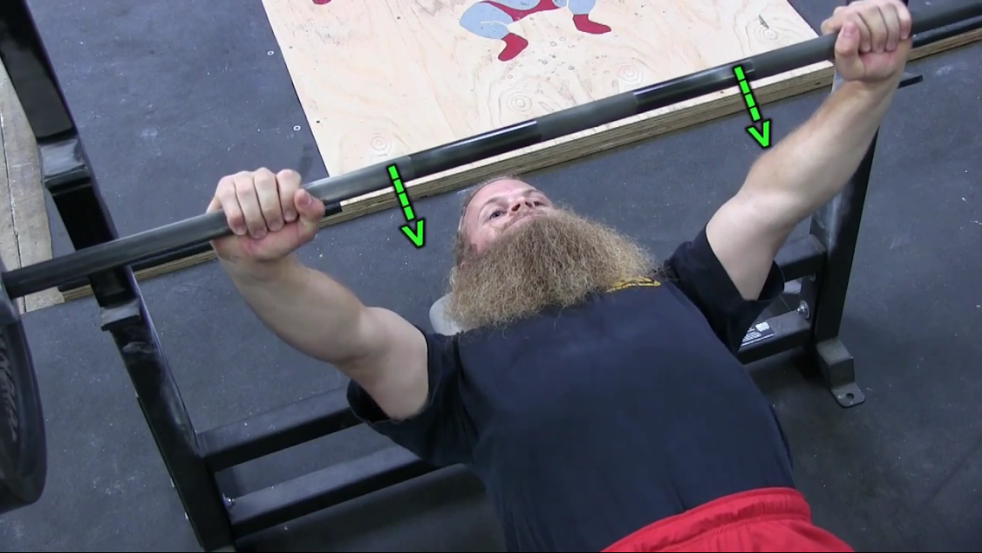
To an untrained eye it would make sense to lower the barbell in a straight line, touch your body and press back up in a straight line. After all, the most efficient way to get from point A to point B is in a straight line. 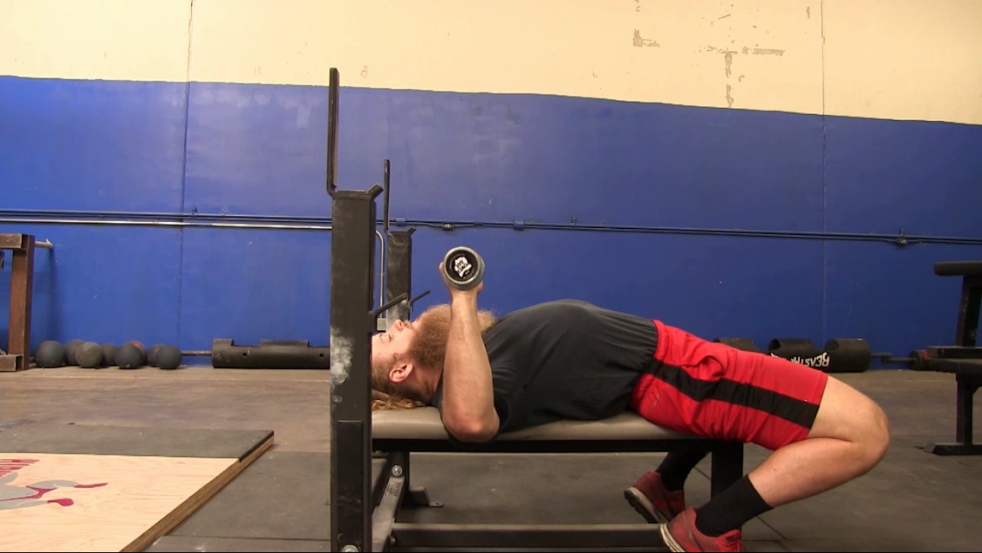
However, lowering the barbell straight down will force the elbows to flare out at 90 degrees from your body. This will likely lead to shoulder impingement and it should be avoided.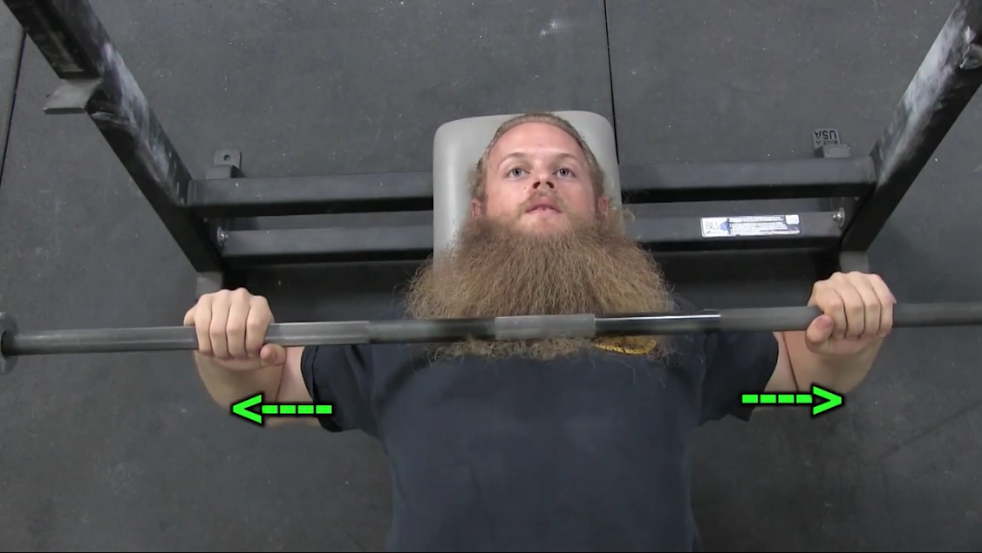
What you should do instead is slightly angle the humerus to less than 90 degrees from your body. This will feel like a more natural pressing position.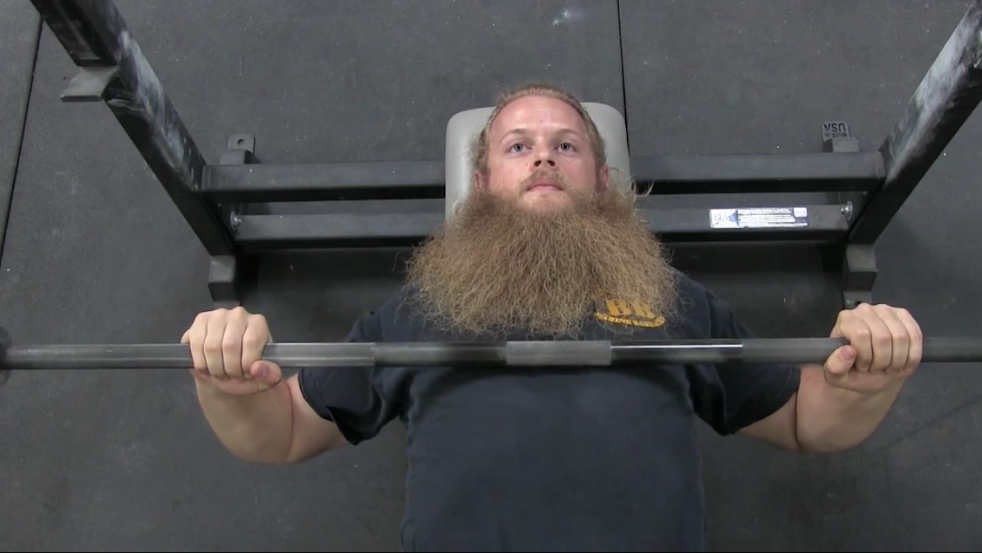 After all, if you were going to push someone or something away from you you wouldn’t do it with your elbows flared out at 90 degrees from your body. Slightly tucking the elbows should feel like a more powerful pressing position.
Now, starting with the barbell directly over the upper back, slightly rotate your elbows in and lower the barbell until it touches your chest. Like I said earlier, when the barbell touches your chest your forearms should be perpendicular with the barbell, elbows under the barbell.
Don’t make the mistake I often see when people touch their chest with their elbows behind the barbell.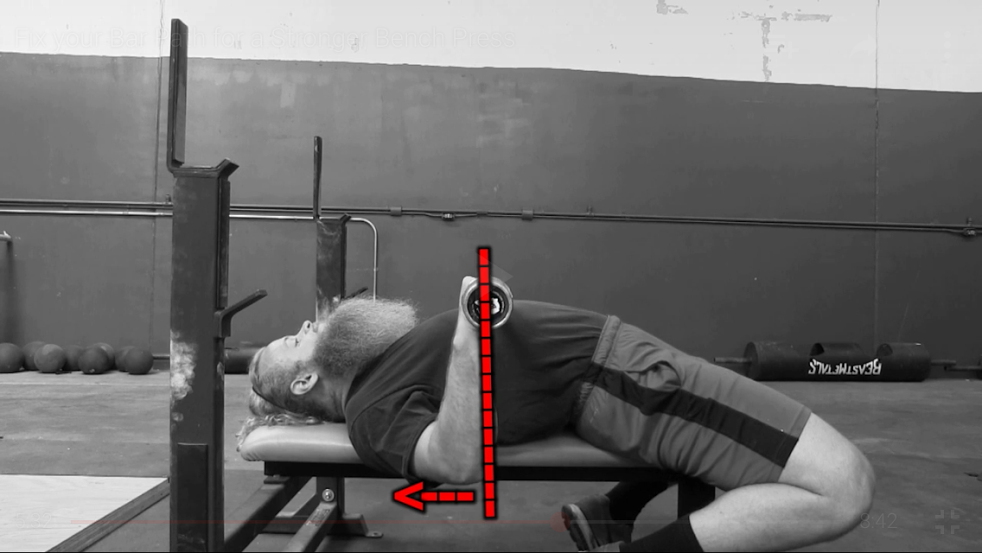 This turns the bench press into more of a front shoulder raise than a press.
The exact spot on your body is going to change based on how tucked your elbows are. The bar will touch much lower on the body with elbows tucked at your sides than if your elbows are pointing out at a greater angle. 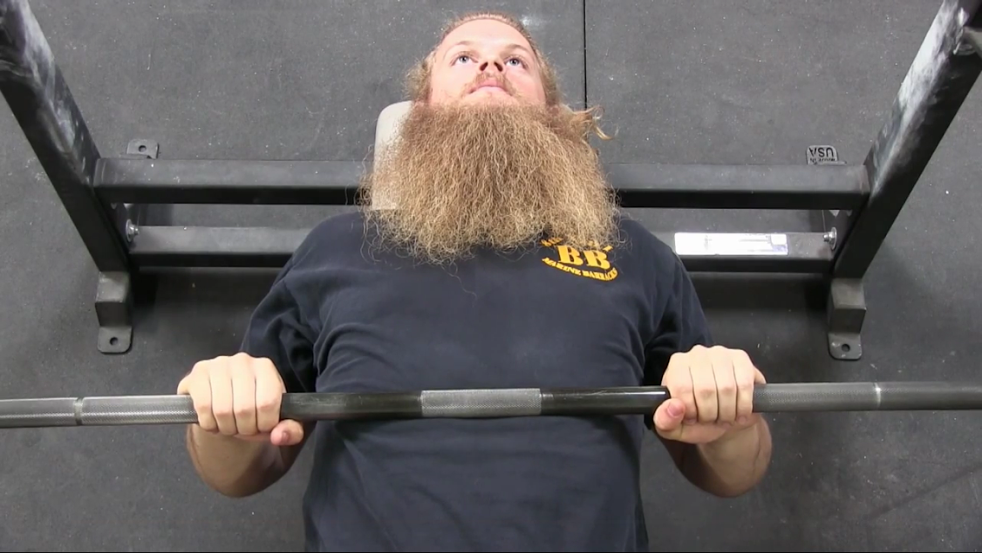


Find the spot that works for you based on your preference, your build, and your flexibility or arch. Once you find the correct spot on your chest you must NOT deviate from it! This is the exact spot the barbell needs to touch every single rep of every single set!
Try This Drill:
I’ve shown this drill before and I’ll show it again.
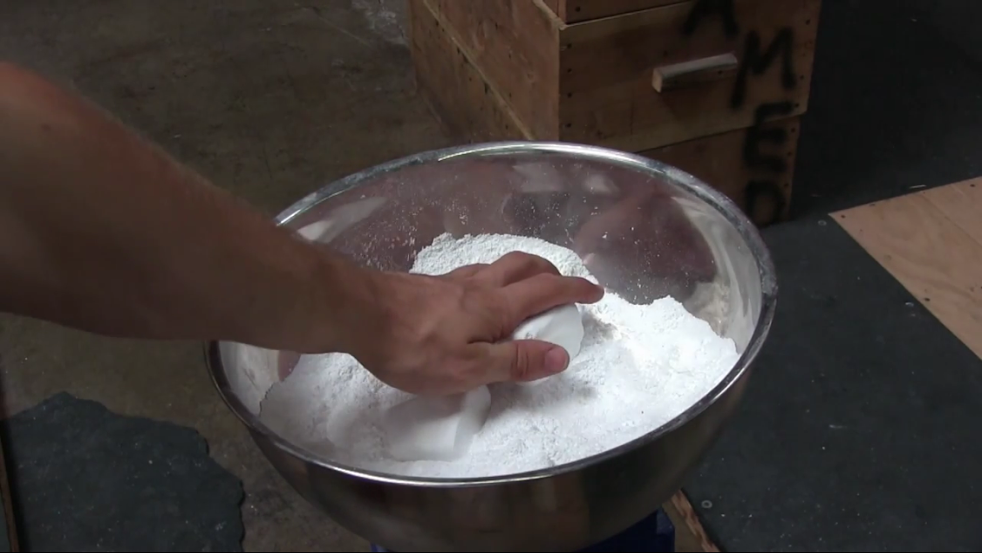
- Grab some chalk; if your gym doesn’t allow chalk well that sucks.
- Grab a barbell with center knurling.
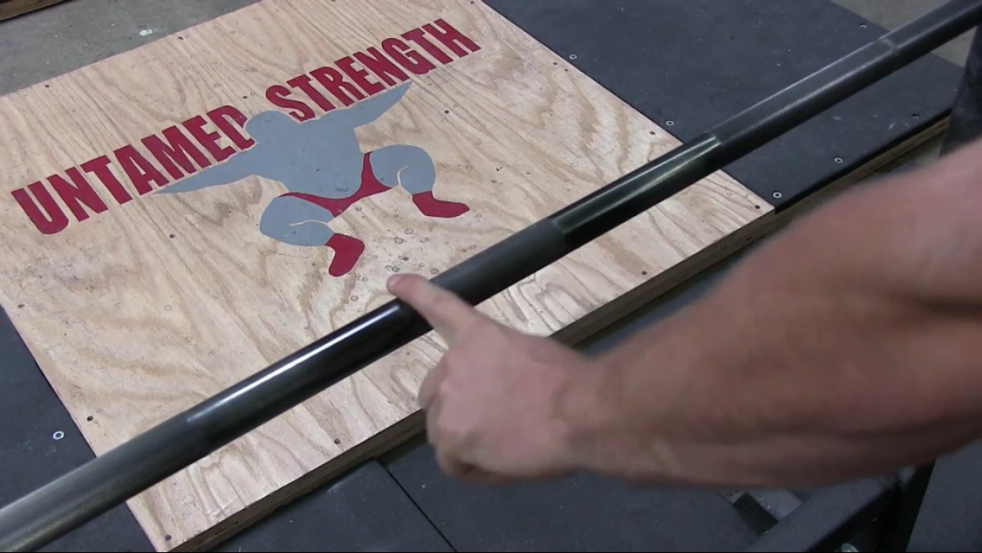 If your gym doesn’t have a barbell with center knurling that’s 0 for 2 on the “Am I Training Untamed?” Checklist.
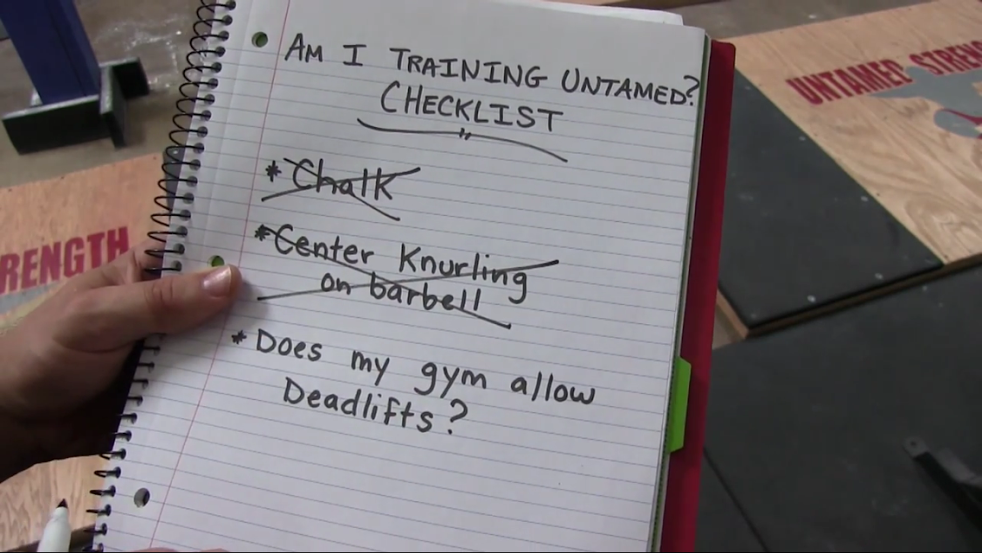
- Cover the center knurling with chalk.
- Perform your working sets as normal.
 After the set you should have one solid line of chalk that’s the same diameter as the barbell.
 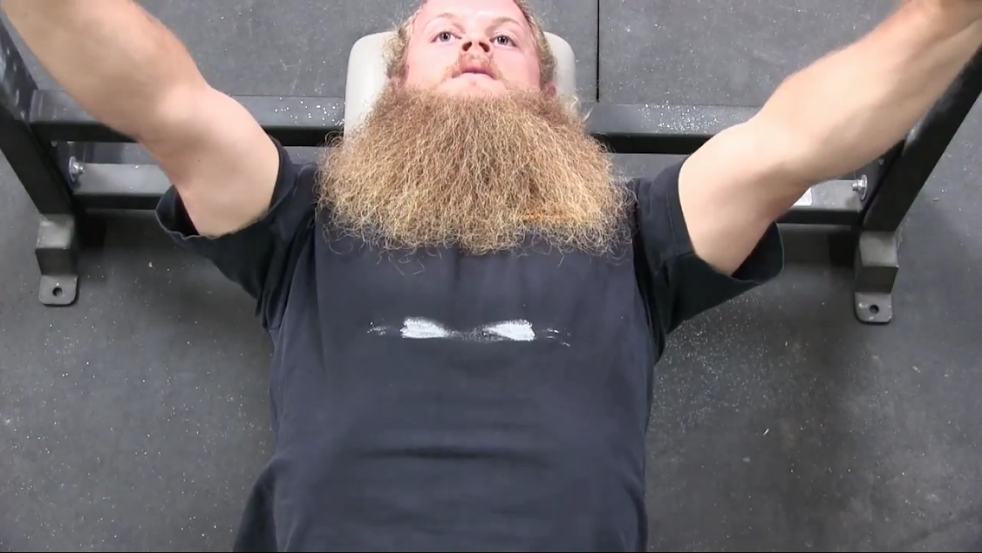 This means you are touching the same spot on your chest every rep.
If you look like this you need to work a little harder on controlling the barbell to the correct spot every rep.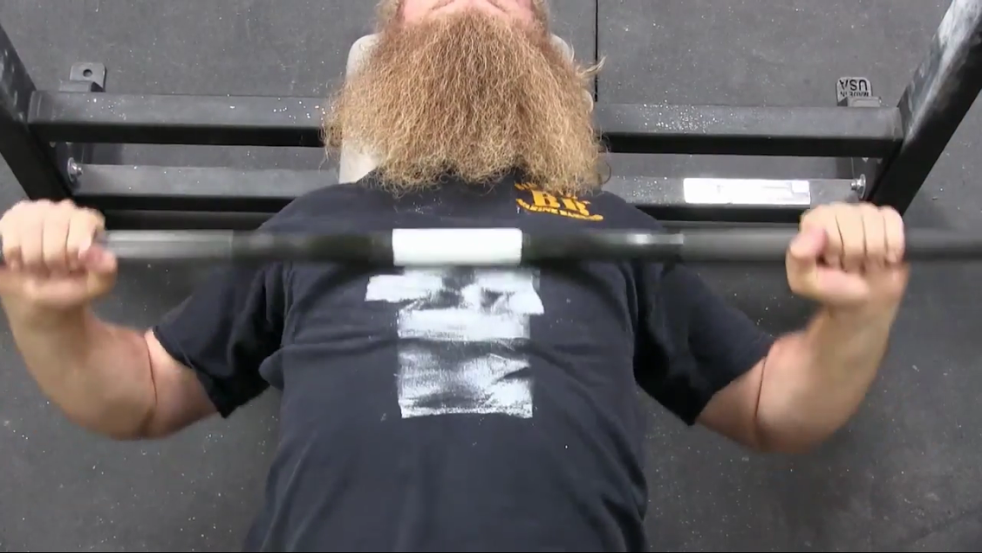
Pressing the Barbell Back to the Starting Position
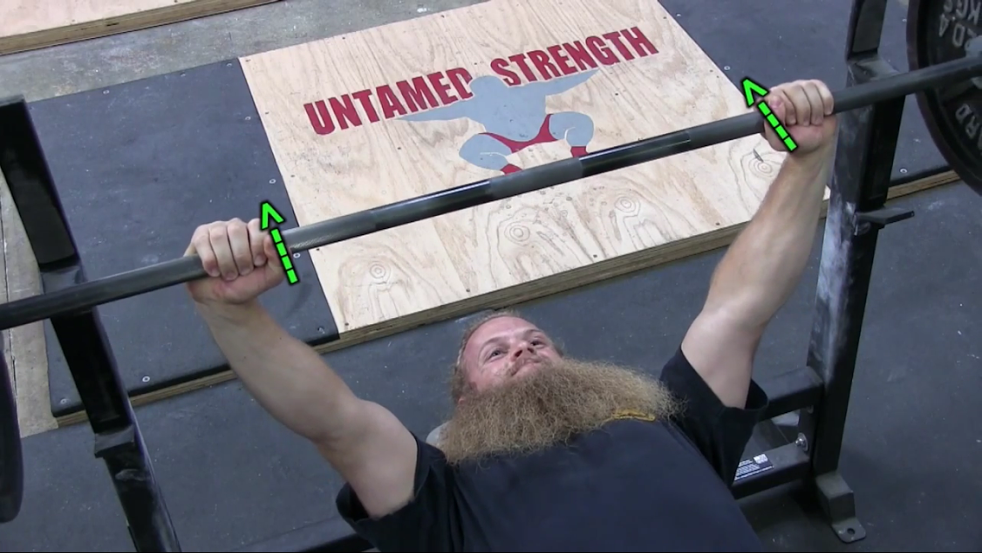
Once you touch the spot on your chest you need to press the barbell back to the original starting position!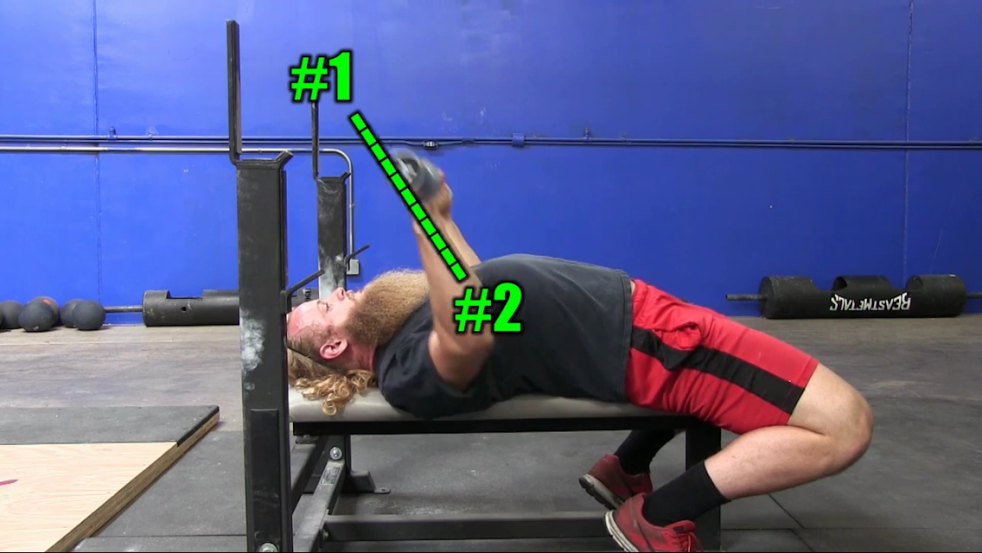 As you can see, the bar path is in a straight line but it is not completely vertical.
Here is where most people screw things up: After they touch their chest they press straight up in a vertical line! Remember how difficult it was to hold the barbell out in that position?! Than why would you want to finish in that position? Remember, your upper back is your support. Once you touch your chest, get that barbell back over your upper back as soon as you can! Stop touching low on your body and moving the bar up and down in a vertical line.
 I can’t tell you how many times I’ve seen someone fail an attempt or grind out a rep because they drifted off the ideal bar path. It wasn’t their strength that failed them; it was their execution of the lift. Once you touch your chest, press the barbell back toward the rack, rotate your elbows back under the barbell, and this will put the barbell back over your shoulder joints where it wants to be.
So, there you go guys and gals, I hope that was helpful, if you like the content and want to see more of it please be sure to sign-up for the Newsletter.
Thanks for reading and always remember…TRAIN UNTAMED!

")
